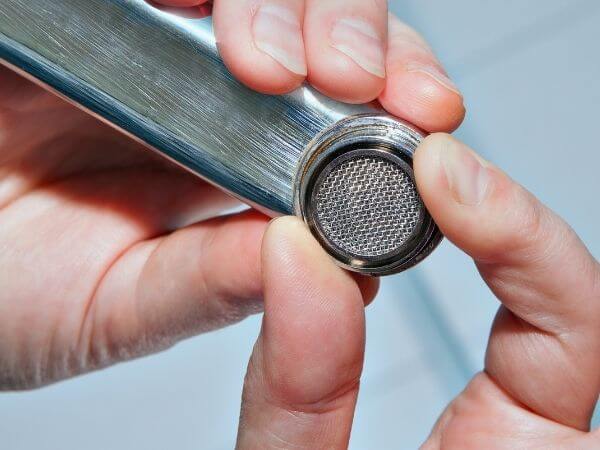
All modern indoor faucets, whether in your kitchen or bathroom, have an aerator. A faucet aerator is a small porous fitting that threads onto the spout of the faucet. It has tiny holes that diffuse water to make it flow more softly without splashing. This is why the alternative name for a faucet aerator is a splash filter. Some people also called these faucet add-on devices flow restrictors because they restrict the flow rate of water, this helping to reduce water consumption as a result.
Over time, a faucet aerator may clog up with debris and may need replacement or cleaning. Sometimes you may just want to take out an older aerator and replace it with a new one. You can even replace a stock aerator housing with a decorative one. Many people do it as part of interior decor.
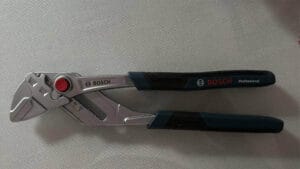
Generally, a faucet aerator is easy to remove by hand but sometimes it can get too tight especially due to calcification and you may need to use a tool. In this article, I show you how to use pliers to easily remove a faucet aerator from any faucet. You will not need a wrench; just a of water pump pliers or channel lock pliers.
How to remove and replace faucet aerator with pliers

Tools and supplies
- Water pump pliers / Channel lock pliers
- Replacement aerator
- Cloth and rubber mat or masking tape.
- Needle nose plier (optional)
Procedure
- Turn off the water
- Fold a rag in two and place it over the faucet aerator cap.
- Slide the jaws of water pump pliers over the rag to grip the faucet cap. The purpose of the rag is to protect the aerator housing from being marred by the serrated jaws of pliers. You can also use a kitchen rubber mat for opening jar lids. It works like charm. Even better, you can use the pipe and connector pliers with inserts such as the Knipex pliers jaw inserts.
- Twist the pliers counterclockwise to break loose the aerator housing. Now spin the loose faucet cap by hand to remove it.
- Check to see that the aerator gasket came out aerator assembly. If not, insert your finger inside the faucet and pull it out. You can use needle-nose pliers if you have one handy.
- If your faucet has a recessed aerator, use a faucet aerator remover tool. Alternatively, insert the sharp tips of needlenose pliers in to the grooves of the recessed aerator and gently twist counterclockwise to unlock it.
- Pop in the new aerator and rubber gasket into the old housing. The gasket should sit on top.
- Thread the new aerator assembly onto the faucet and tighten it by hand.
There you go! That is how to remove a faucet aerator that won’t come off by hand.
Pro tip: If the aerator gets stuck in the housing, use WD40 to release it. But make sure you wash the faucet with soap and hot water to remove WD-40 before you consume the water again.


