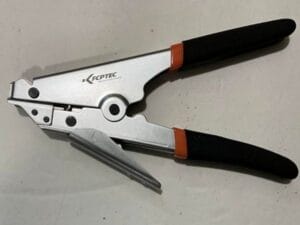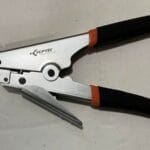
A pair of adjustable pliers has countless uses in home improvement projects. The uses range from simple fixes such as tightening loose plumbing fixtures to complex fixes like toilet repairs. The pliers are a better replacement for an adjustable wrench in nearly any project that requires you to use the latter. Find out more about how an adjustable wrench compares with adjustable pliers here. In this article, I show you how to tighten a toilet seat with pliers.
A loose toilet seat shifts sideways when you wiggle it or sit on it. It also appears misaligned with the toilet bowl. If you do not tighten it, you may end up with a broken toilet seat that definitely requires replacement. And you know that good toilet seats are not cheap.
But you can avoid the cost of replacing a broken toilet seat by tightening the loose seat. This is a simple fix that you can complete in under 5 minutes and can save you big money. All you need is a flat screwdriver and a pair of adjustable pliers. And of course a tiny bit of muscle.
How to fix a loose toilet seat (steps)
Step 1: Close the toilet lid or cover
Close the toilet cover to access the back of the toilet bowl where the seat hinge is located. The lid also prevents tools and hardware from dropping inside the toilet pan.
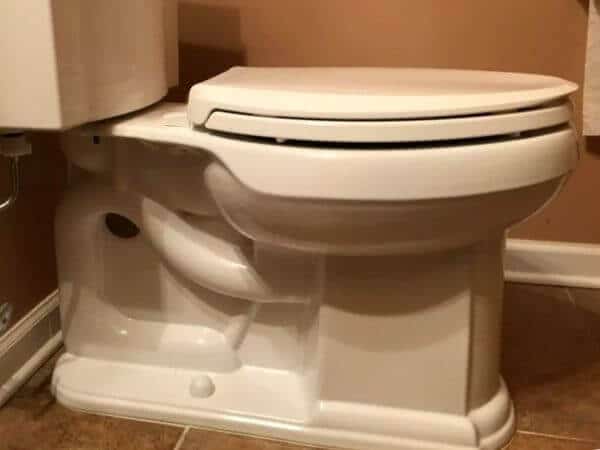
Step 2: Locate the toilet seat hinge bolts and nuts

Different toilet seats attach differently to the toilet bowl. Some use plastic fasteners while others have metallic nuts and bolts. Also, some toilet seat hinge nuts require a tool while others don’t.
So, check at the back of the toilet bowl to see what type of bolts/screws and nuts your toilet uses. You can check from the top or beneath. To check from the top, simply pry the hinge bolt tabs or covers with a flat screwdriver to expose the seat bolts. For the nuts, check underneath.
If you do not see anything from underneath, then your toilet seat could be the modern type that does not use hinge bolts. Such toilet seats use mounting hardware assembly. To tighten them, use a Phillips head screwdriver to turn the mounting screw until it is snug.
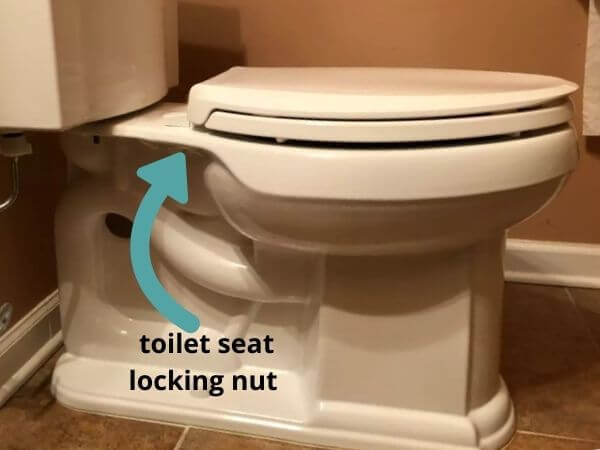
Step 3: Align the seat with the toilet bowl and tighten the loose hinge bolts
If your toilet seat has a hinge bolt and nut, start by aligning the seat with the toilet pan then tighten one hinge at a time. Hold the hinge bolt’s locking nut beneath with your hand and tighten from the top with adjustable pliers. Adjust the jaws of the pliers so that they grip the bolt head tightly. Turn the bolt until the seat is firmly held in place.
Alternatively, grip the nut from underneath with the adjustable pliers while turning the hinge bolt clockwise with a flat screwdriver to tighten it. Most toilet seat hinge bolts have a hexagonal head for a wrench or pliers to grip and a slot or Phillips head in the middle for a screwdriver. So it is you to choose which tool to use. However, be careful not to overtighten as doing so might break the bolt or prevent the seat from sitting properly on the toilet bowl. Furthermore, a toilet seat that is too tight can break easily.
If the seat attaches to the toilet using plastic bolts and nuts, you do not necessarily need to use pliers to tighten it. Plastic toilet fasteners are designed to be tightened by hand. So, just snug the wingnut from underneath with one hand while stopping the bolt from spinning with the other. Turn the nut until the seat is nice and tight.
Alternatively, use pliers or a screwdriver to hold down the bolt if it is difficult to hold it in place with your hand. You can also use a pair of adjustable pliers to tighten the wingnut but careful not to cause damage.
If your toilet seat is mounted onto the bowl using metallic bolts and nuts, use the adjustable pliers and screwdriver. First, start the nut by hand until it becomes hard to turn. Then, grip it with pliers and turn the bolt from the top with a screwdriver. Turn until the hinge assembly is snug.
Step 4: Close the toilet seat hinge caps.
After aligning the toilet seat and tightening the loose bolts, reinstall the hinge covers. Simply press them down so that they snap into place.

Step 5: Test the toilet seat.
Wiggle the toilet seat to make sure it does not wobble anymore. You can also try sitting on it to see if it is still loose. If the problem persists, it may mean that the attachment bolt and nut are worn. As such, you may have to install new hinge bolts or new toilet seat mounting hardware.